There’s nothing quite as satisfying as unboxing a new piece of technology and being absolutely blown away by every detail. This week I tackled setting up a new conference room system and got a first look at the future of 4K video conferencing.
Set up your video conferencing system with these 3 steps
Inside the box you’ll find everything you need to get up and running making 4K video calls — even down to the multiple HDMI cords for dual-display setups. Installation is truly plug-and-play. Here’s how to get started:

1. Connect the video system to your display
Using the HDMI cords that come in the box, connect the video system to your choice of one or two displays. When connected to dual displays, the Lifesize Icon 700 is able to make use of a dedicated display for content sharing (which is great for larger rooms). Next you’ll connect the system to the internet using one of the supplied ethernet cords. A second ethernet cord is supplied to connect the video system to the included Lifesize Phone HD. The presentation port can either directly connect to a laptop or be connected to a Lifesize Share device for wireless presentation sharing (along with a host of other useful meeting room automation features). And the last thing to do is connect the video conferencing system to the included power supply.
2. Pair the video system to your account
The on-screen UI will walk you through selecting your language and time zone, creating a password for the system, selecting your room audio preferences and then pairing the new video conferencing system to your Lifesize account. If you’ve set up a previous-generation Lifesize Icon, you’ll notice a new screen highlighting a very unique feature — in-room audio output can be set to either your meeting room display or the audio output of the Lifesize Phone HD from the initial setup. Having tested both, I found the Lifesize Phone HD to be a much higher quality audio device for both video conferencing and standard audio conferencing. It also felt very intuitive to increase or decrease the volume of the meeting room right from the touchscreen conference phone.
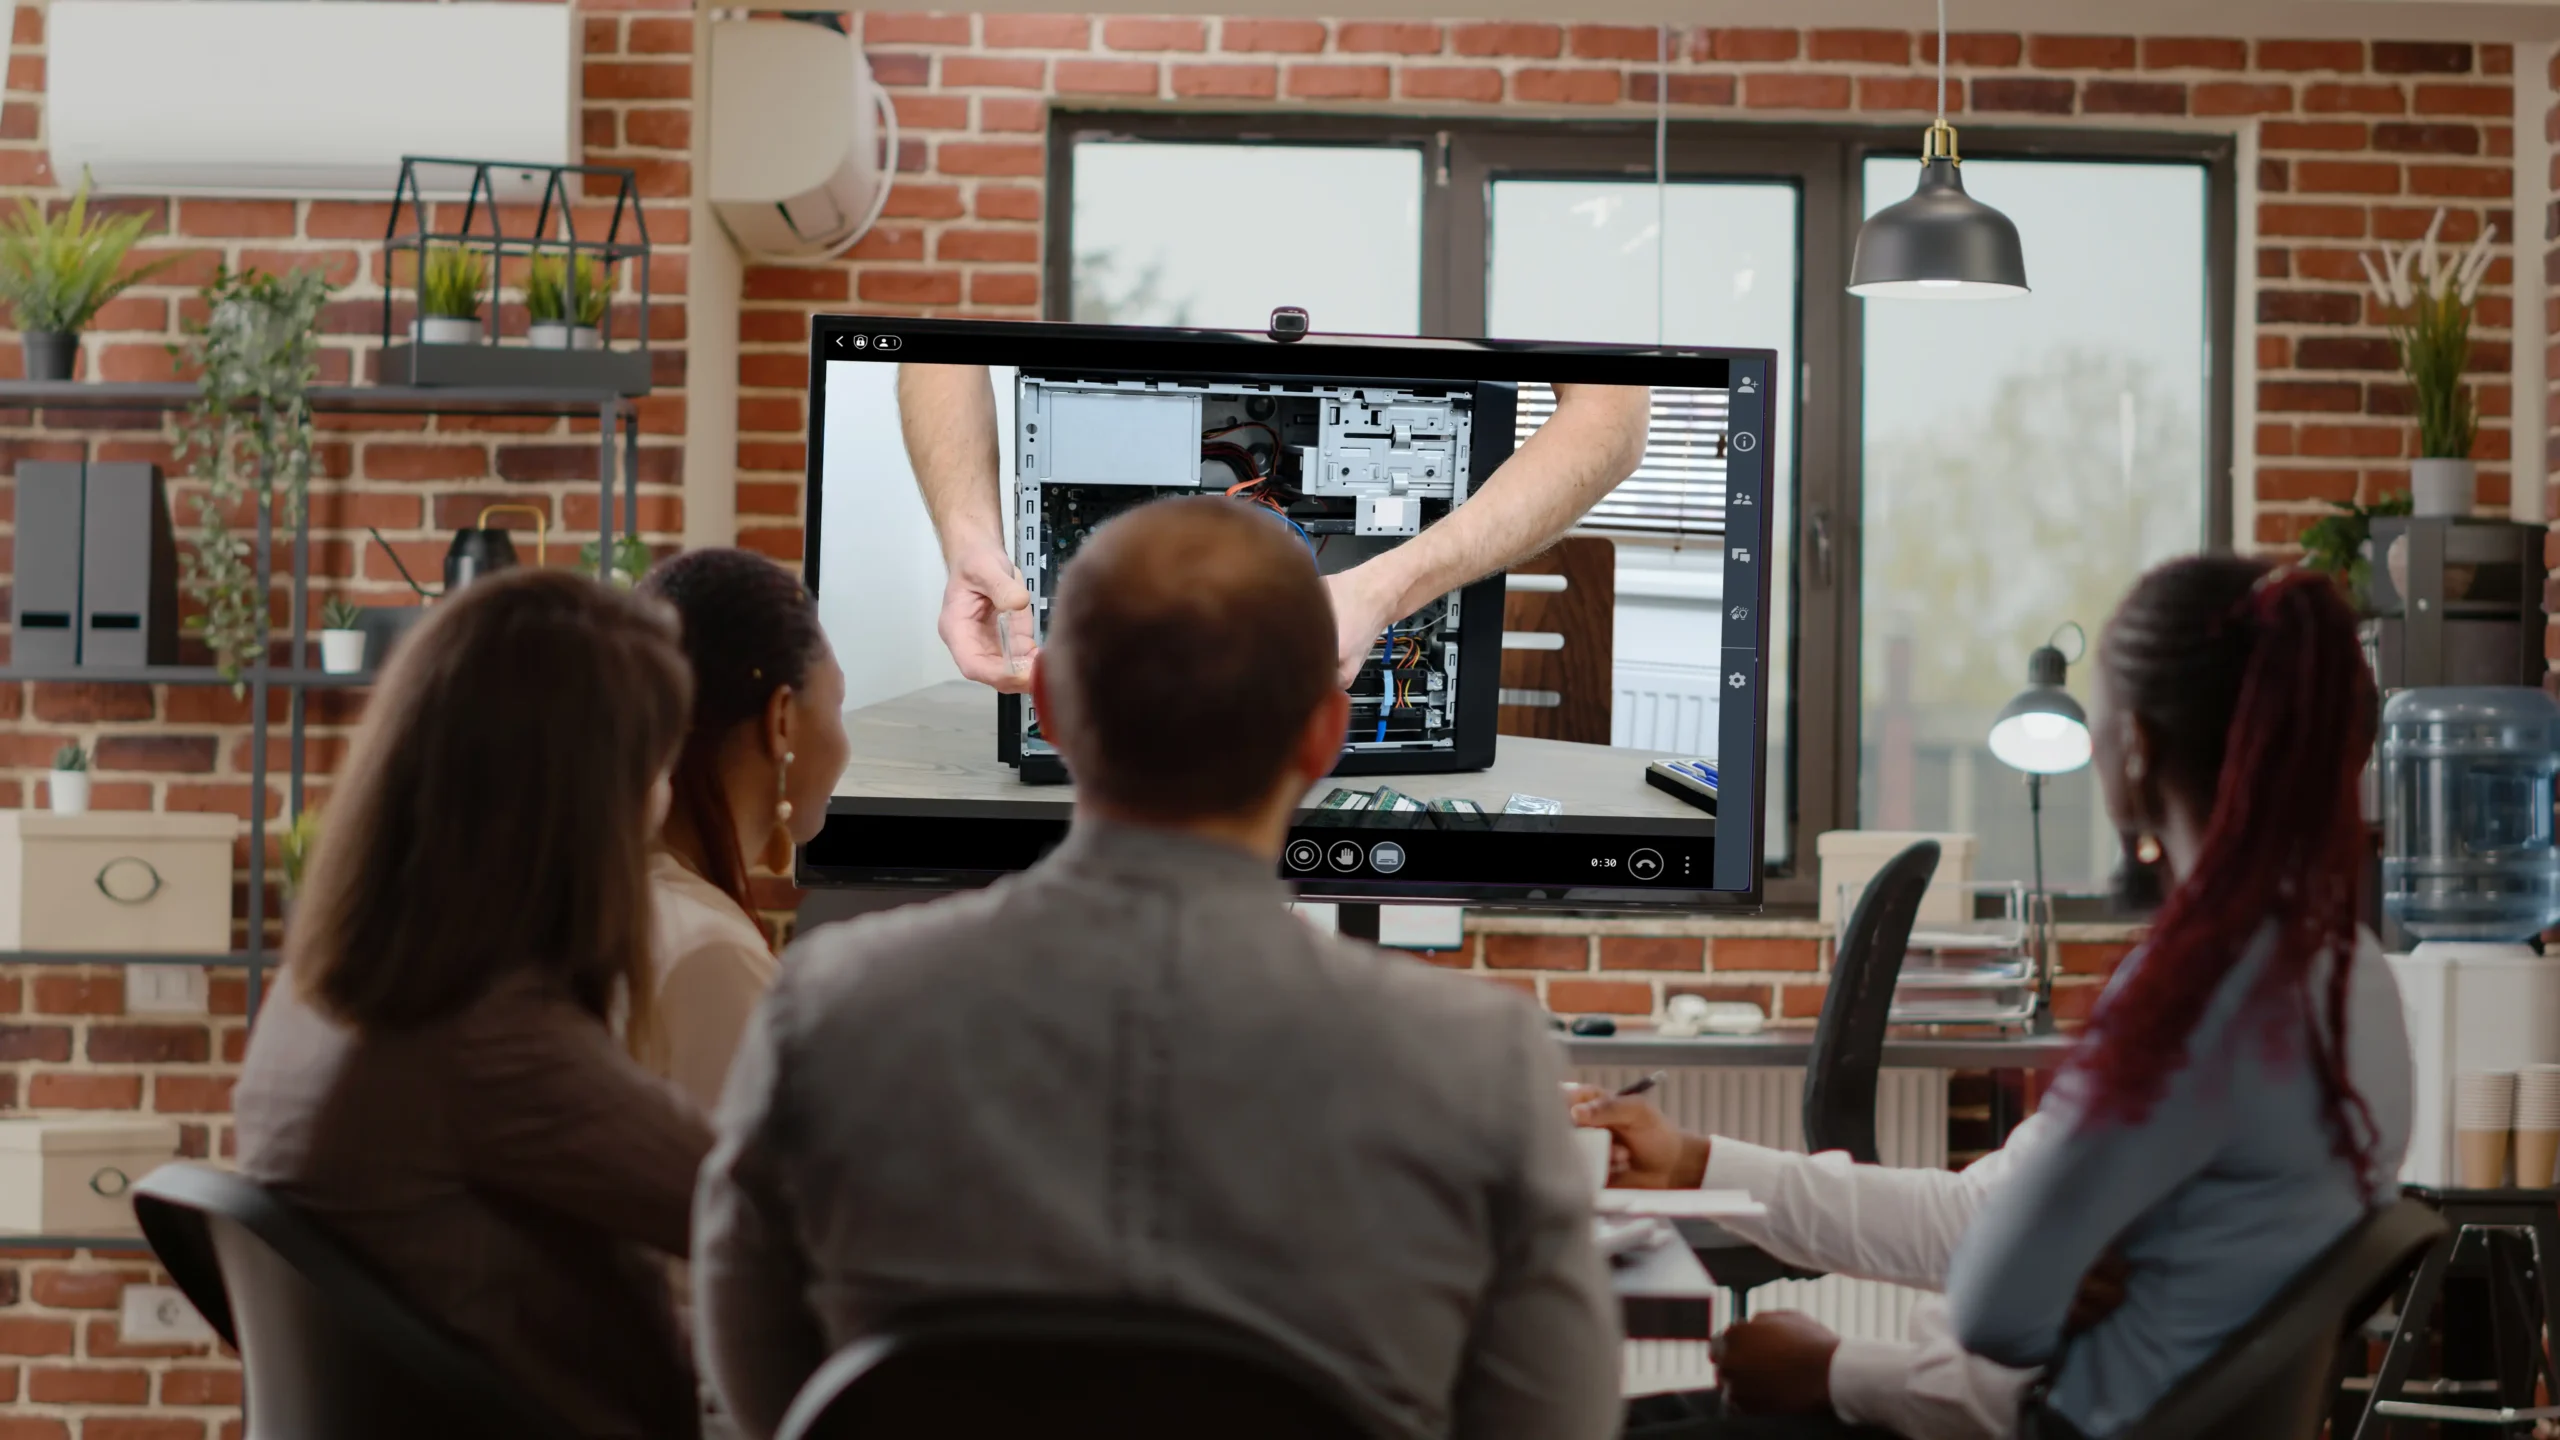
3. Make your first 4K video call
The pairing process only takes a few seconds, and once paired you’ll be able to access your directory and start making and receiving 4K video calls instantly. Be sure to test out the new 20x zoom of the Icon 700. The pan/tilt/zoom operates flawlessly, and the 4K quality of the video participants as well as the full-motion 4K content sharing makes it easy to see how businesses can benefit from a 4K video conferencing solution.
Testing the 20x zoom
We recorded the screen of a system connected to the 20x zoom of the Lifesize Icon 700. Here’s a short clip of our real-world test. Want to see the 4K quality in person? Schedule a demo to see it in action.